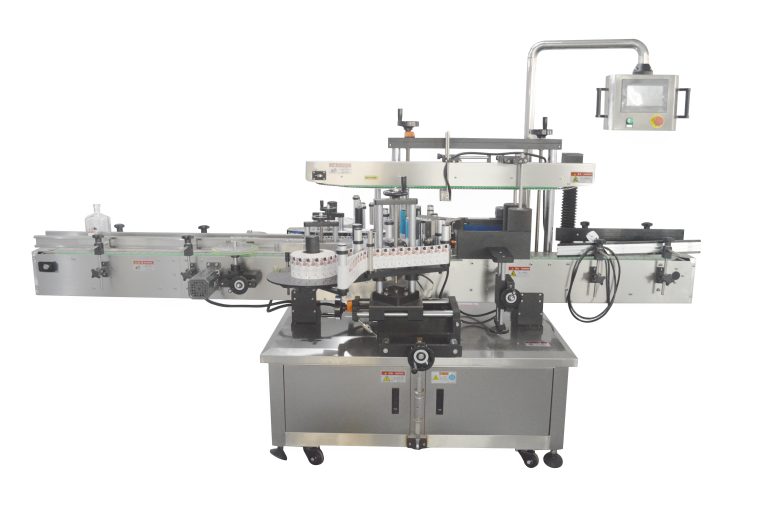
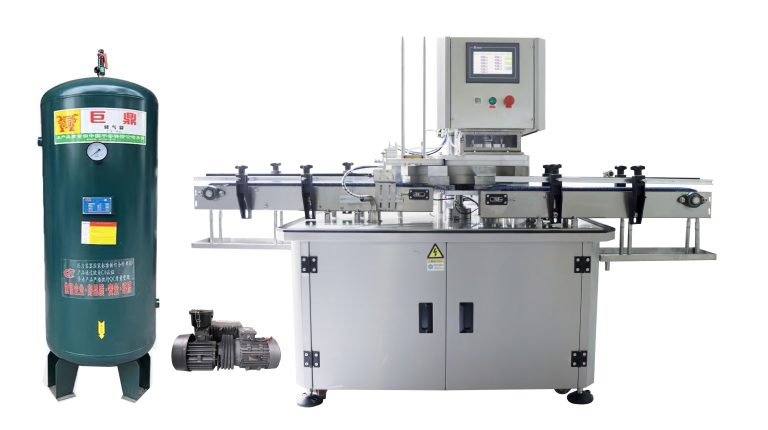
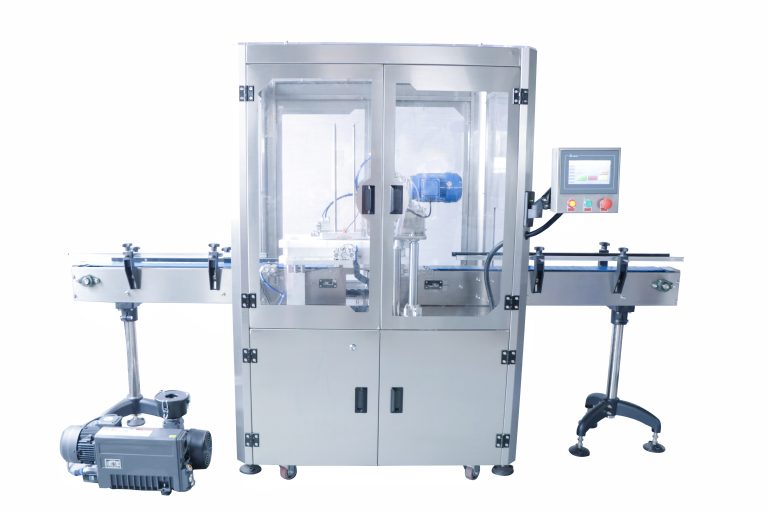
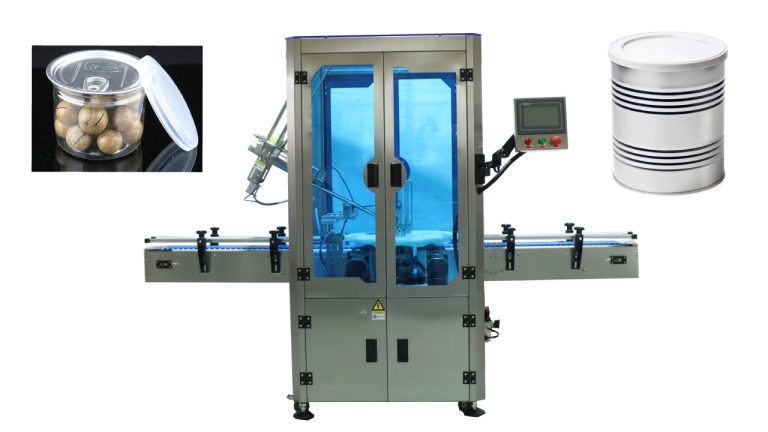
Operating a glass jar vacuum capping machine might seem intimidating at first, but with the right steps and precautions, it can be a straightforward process. Here’s a detailed guide to help you get started:
Step 1: Preparation
Before you begin, ensure that the machine is clean and properly maintained. Check for any loose parts or damage. Also, have the glass jars and lids ready, making sure they are of the correct size and in good condition.
Step 2: Setup
Place the machine on a stable surface and connect it to a power source. Adjust the settings according to the type of jars and lids you will be using. This might include parameters such as vacuum pressure, sealing temperature, and capping speed.
Step 3: Loading the Jars
Carefully place the glass jars onto the designated holders or conveyors of the machine, ensuring they are properly aligned.
Step 4: Positioning the Lids
Place the lids on top of the jars, making sure they are centered and in the correct position for sealing.
Step 5: Initiating the Vacuum Process
Activate the vacuum function. The machine will extract the air from inside the jars to create the desired vacuum.

Step 6: Sealing
Once the vacuum is achieved, the machine will apply heat and pressure to seal the lids onto the jars.
Step 7: Inspection
After the capping process is complete, visually inspect the sealed jars for any signs of improper sealing, such as leaks or incomplete seals.
Step 8: Unloading
Remove the sealed jars from the machine and stack them neatly for further processing or storage.
Step 9: Shut Down and Clean Up
When you are finished operating the machine for the day, turn it off, unplug it, and clean it to remove any residue or debris.
Remember, always follow the manufacturer’s instructions and safety guidelines when operating the glass jar vacuum capping machine. With practice and attention to detail, you’ll be able to cap jars efficiently and effectively.


